GitLab Integration
Set up GitLab integration with GitButler to create merge requests directly from the client using personal access tokens.
Create your GitLab Merge requests without leaving GitButler.
Setting up the GitLab Integration
In order to set up the GitLab integration, you will need two things. Firstly, a GitLab Personal Token and the Project ID for your project.
Creating a GitLab Personal Token
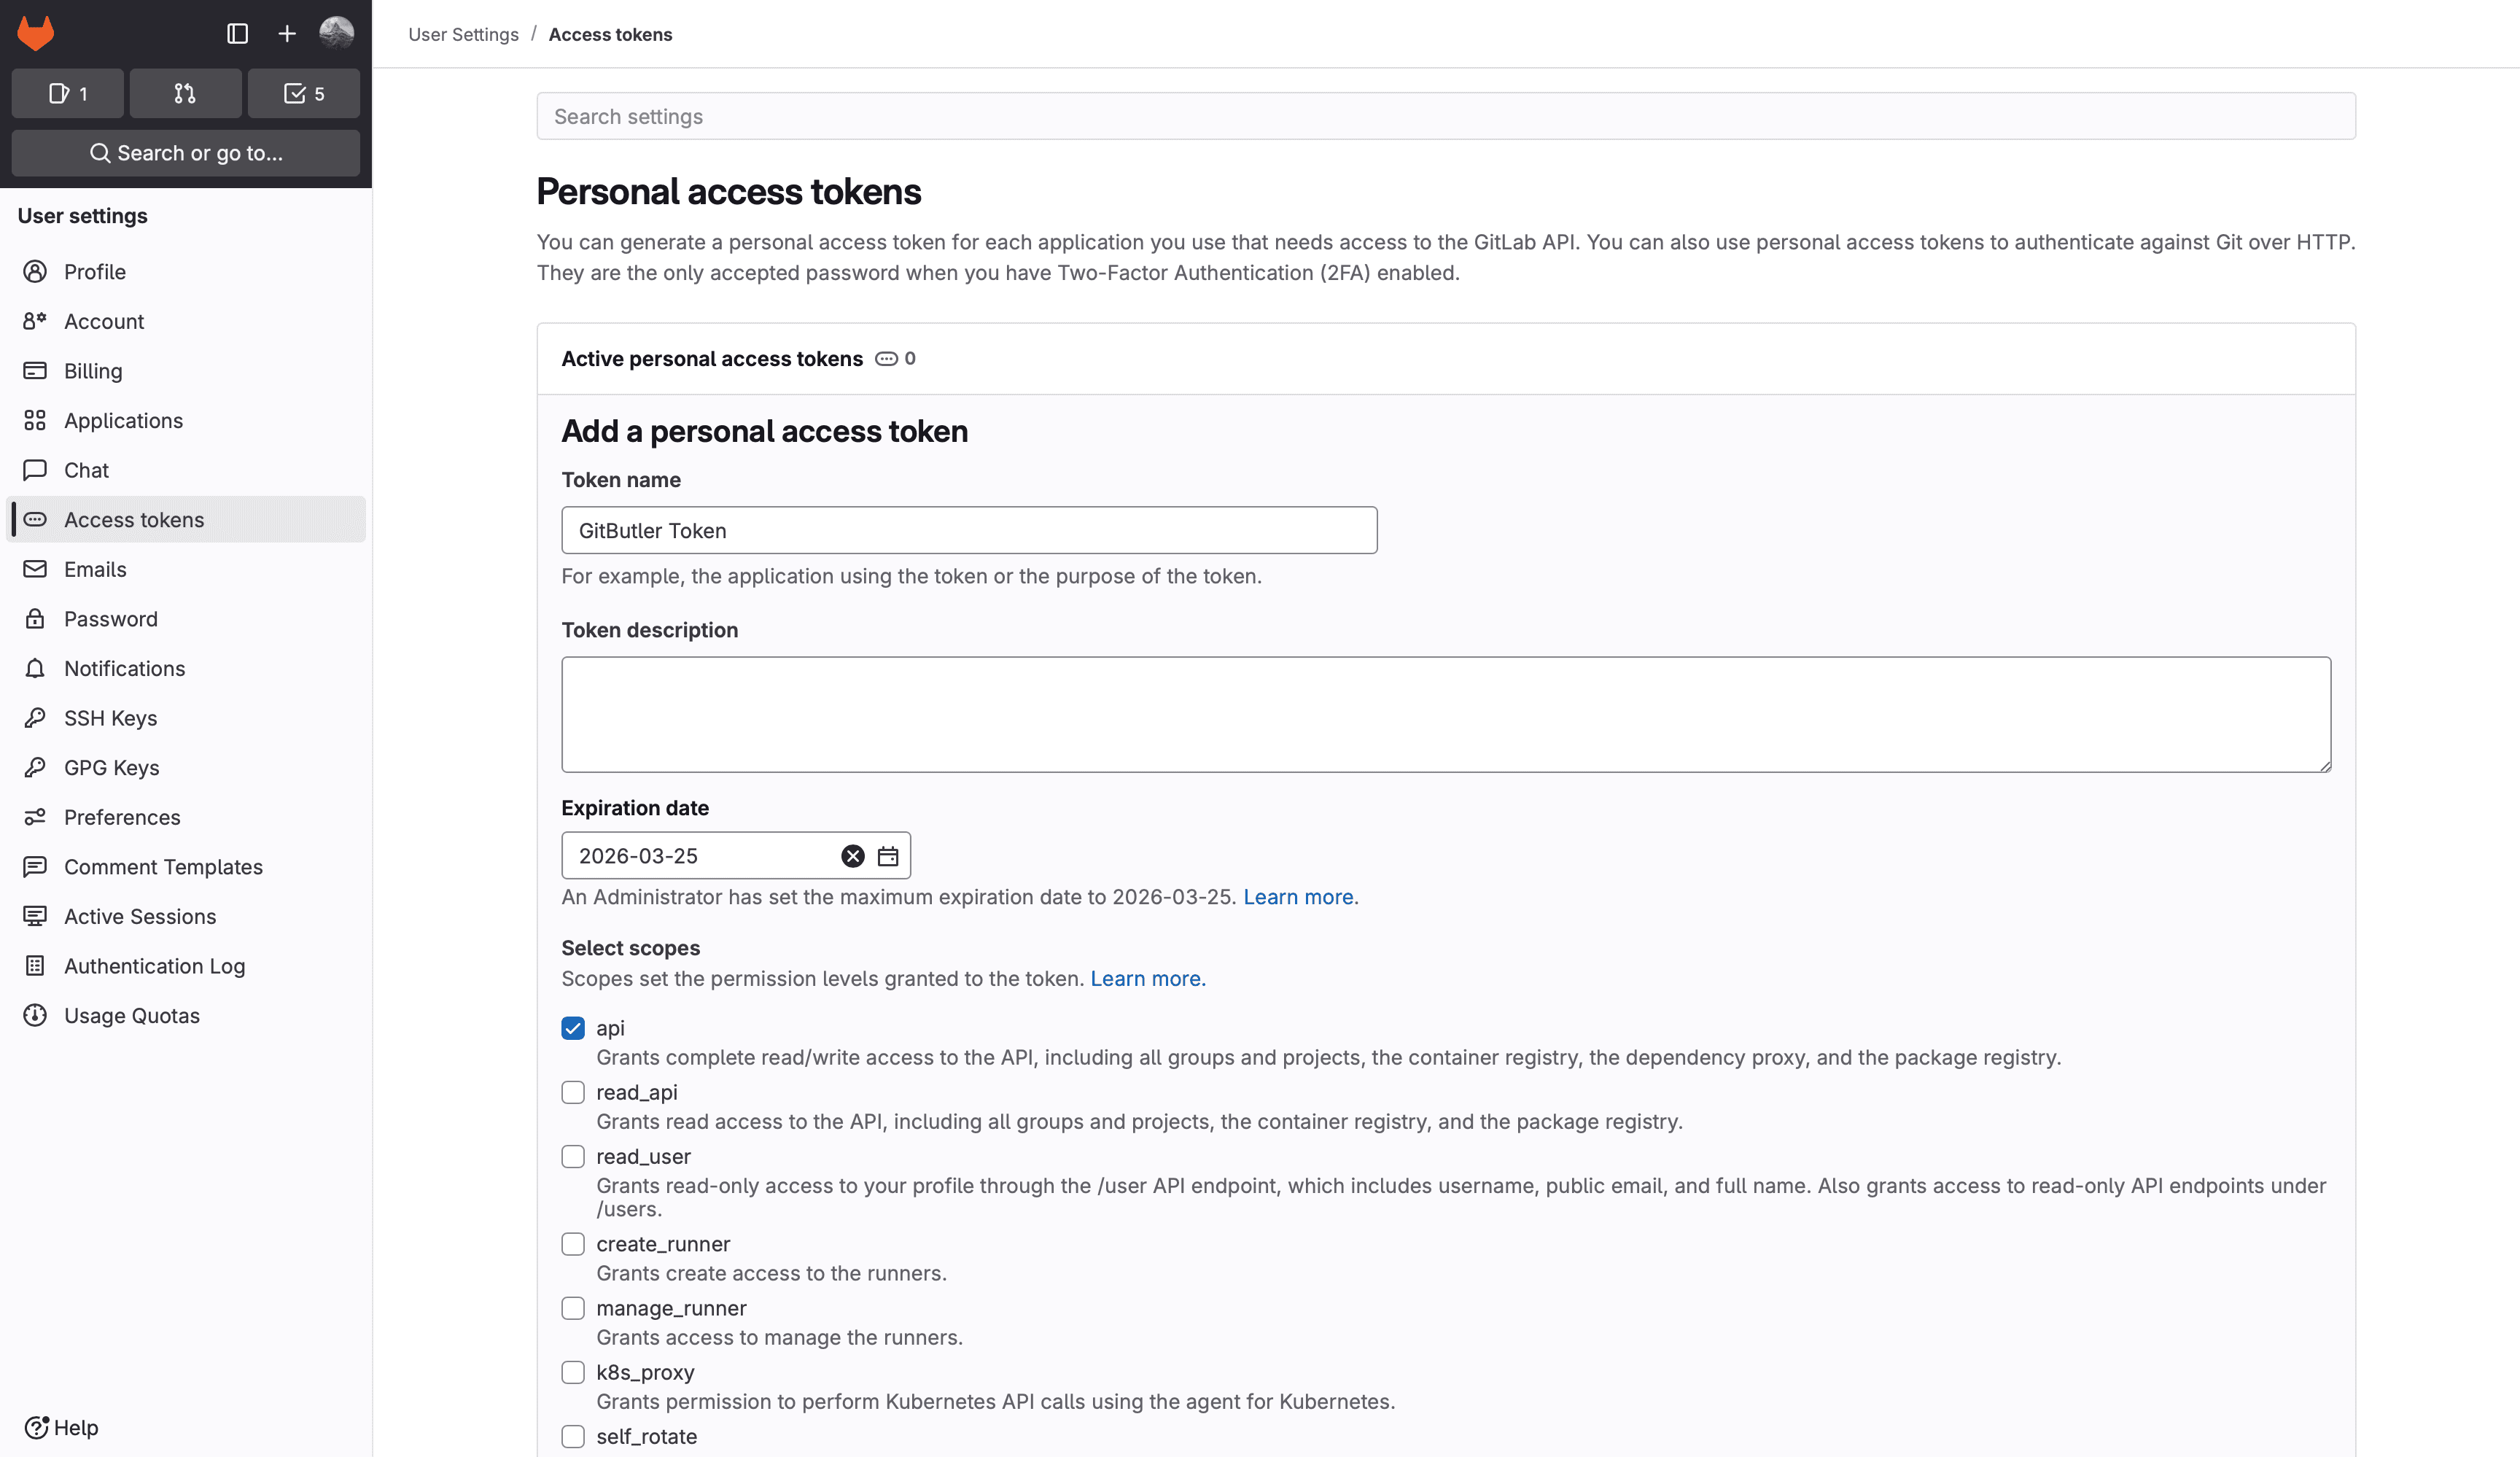
To create a GitLab Personal Token, navigate to your GitLab preferences, and then click on the "Access tokens" tab. You will then see an "Add new token" button. Pressing this button will provide you with a form (as captured below) where you can specify the token name, expiration date, and scopes. We currently require the api scope. In this example, I've chosen to set the expiration date for the token to a year from now.
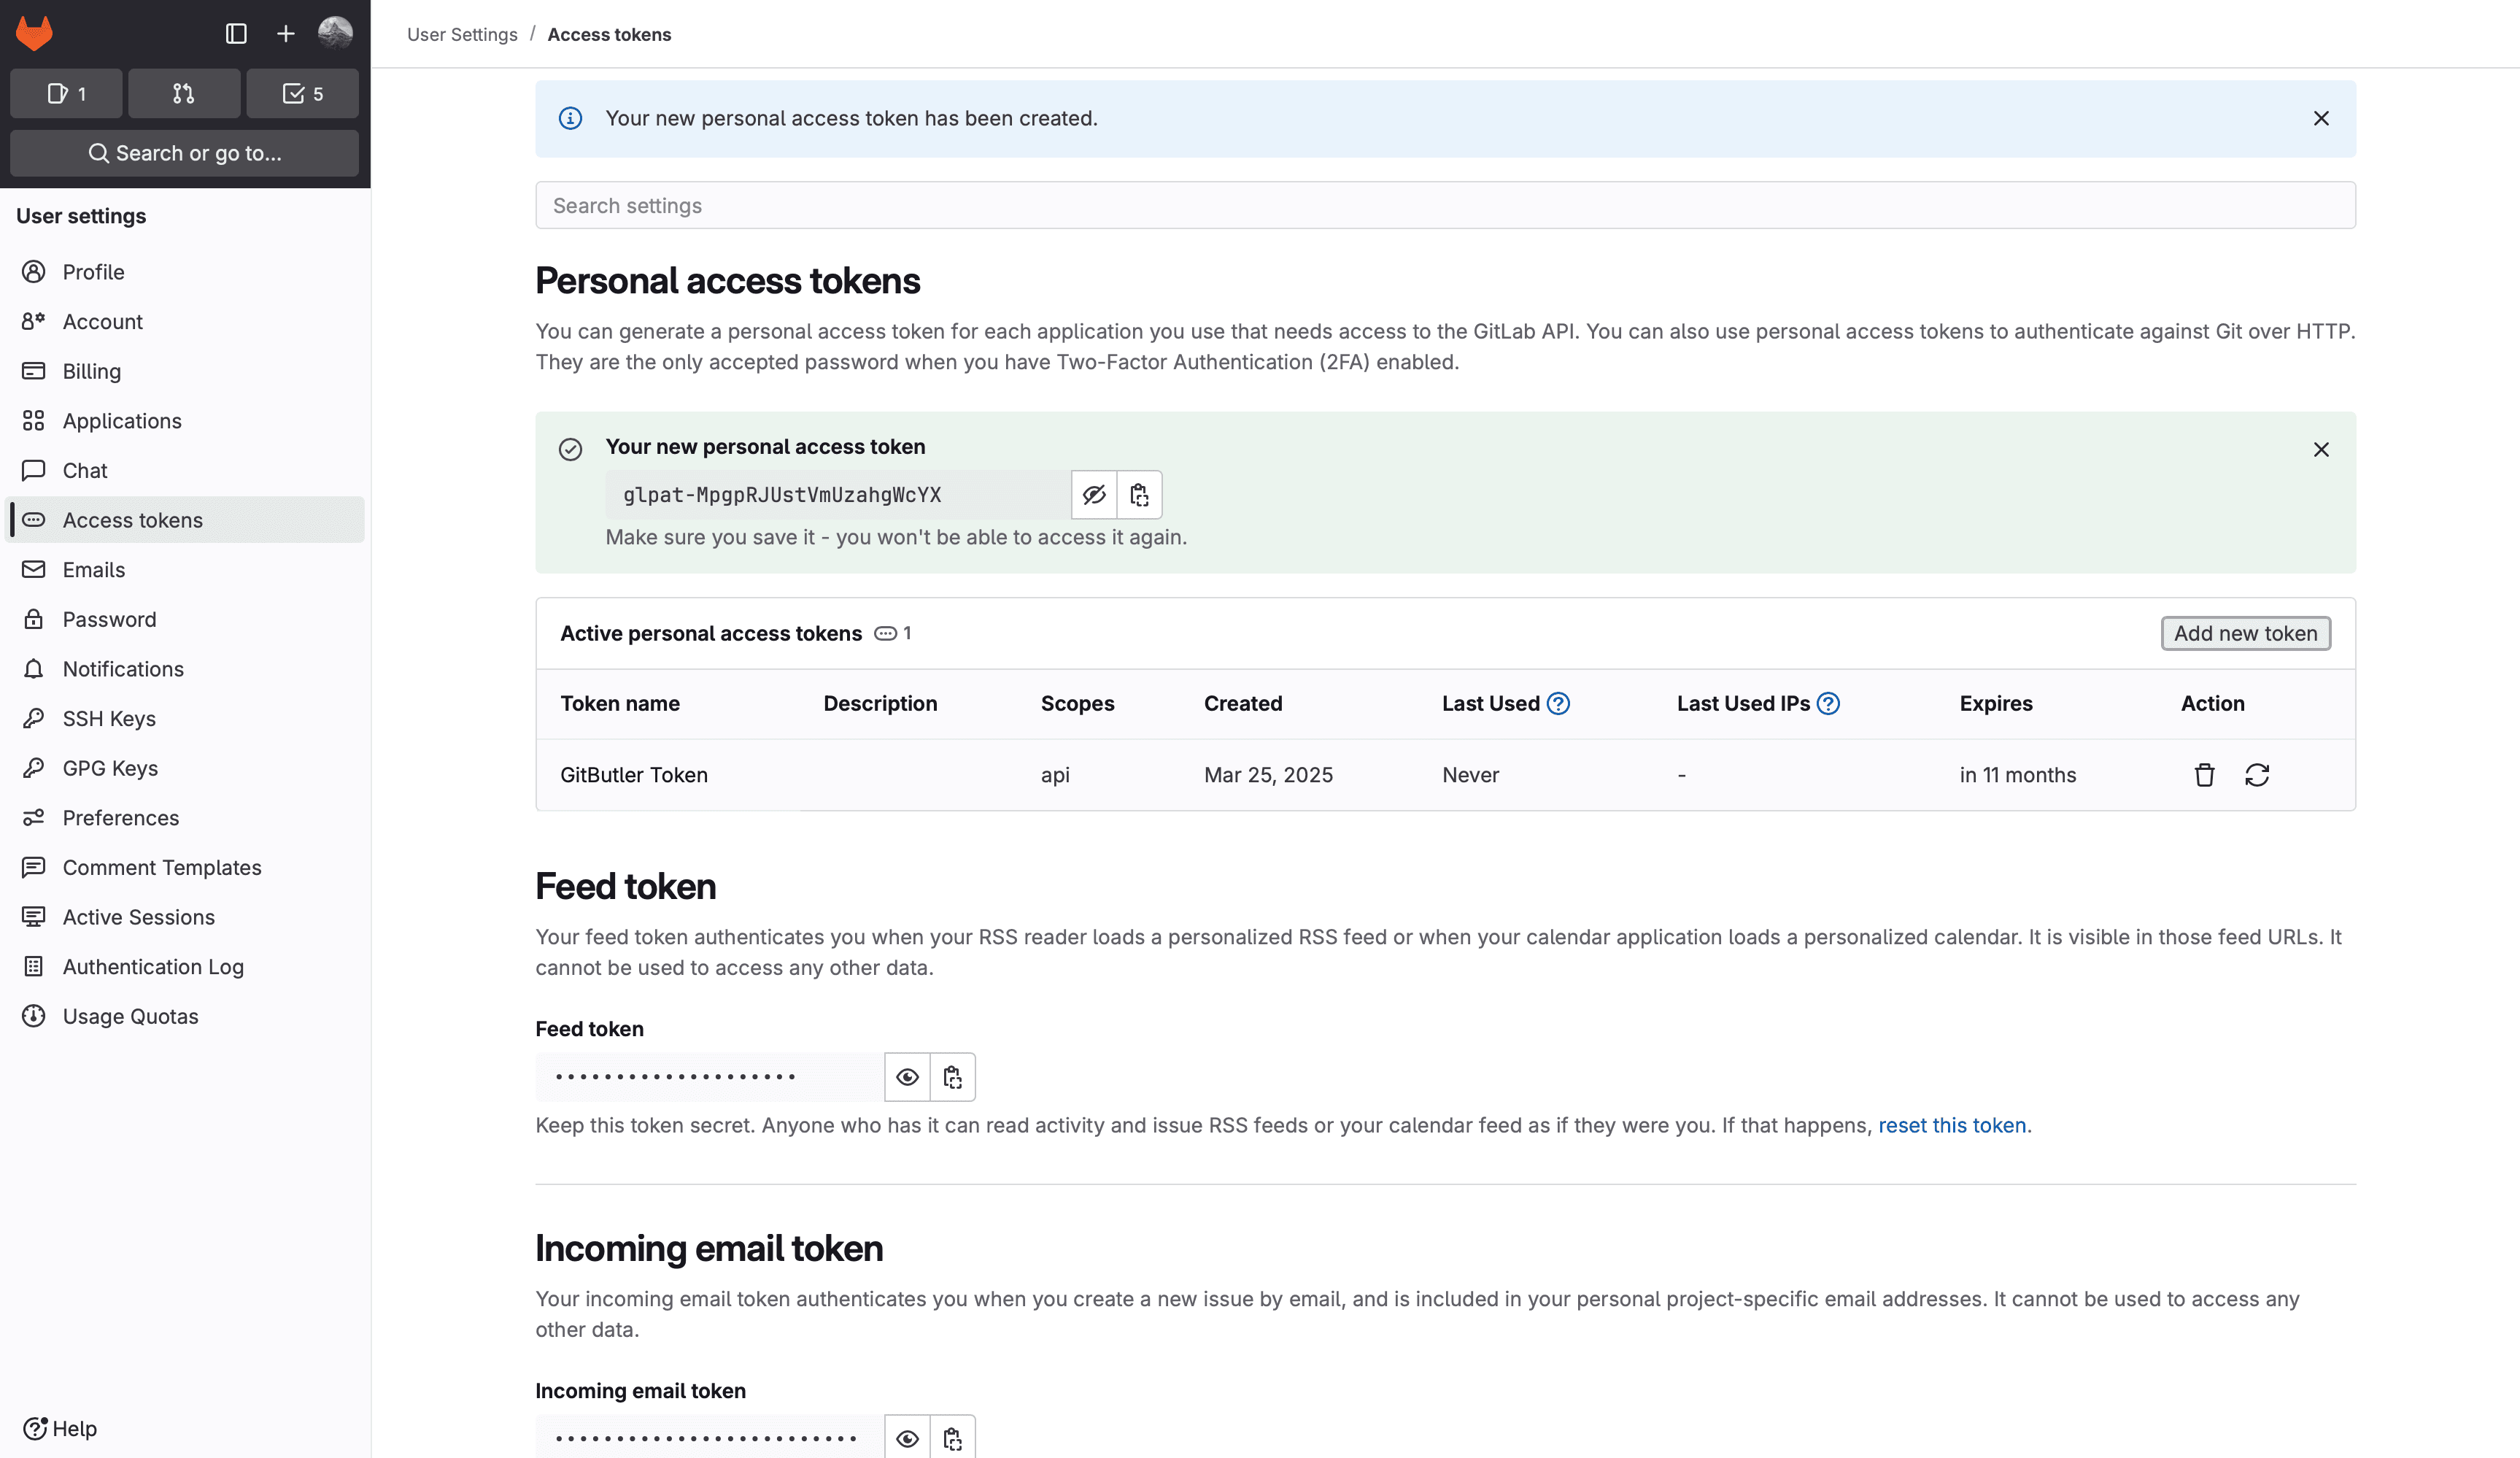
On completion, you will be showen the following screen which contains your GitLab Personal token.
Finding your GitLab Project ID
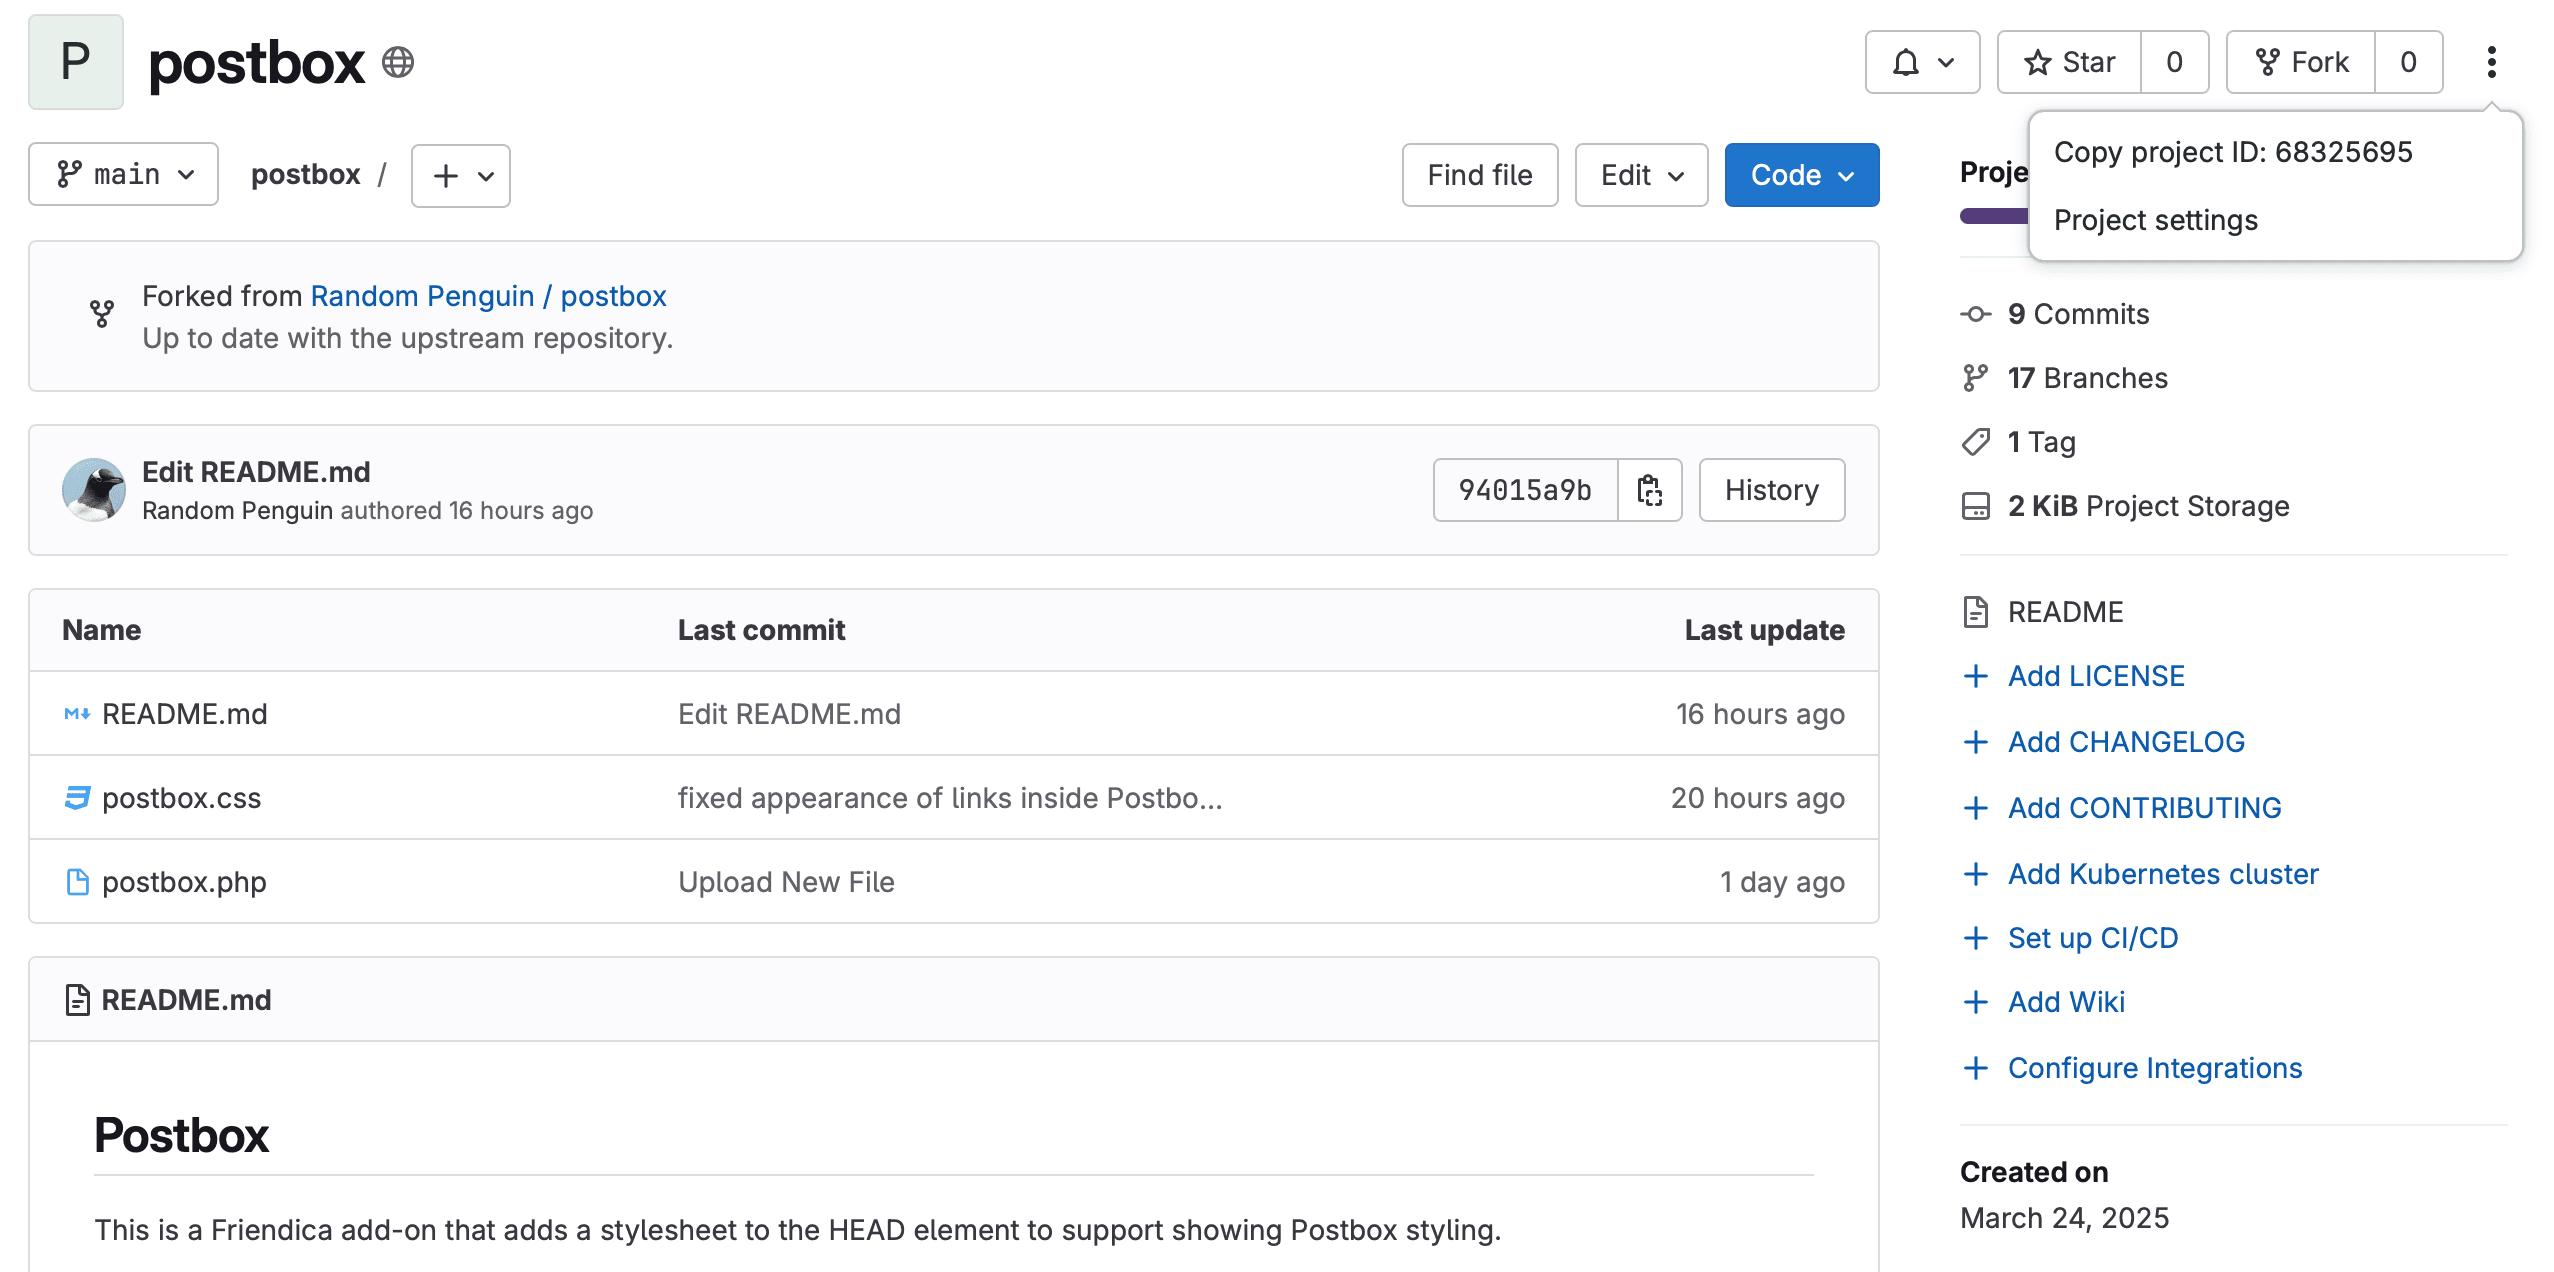
Navigate to the main page of the repository you want to configure the integration for. On the top left next to the "Fork" button, you will see three dots. Click on those three dots, and click on "Copy project ID". This will copy the GitLab Project ID to your clipboard.
Configuring GitButler
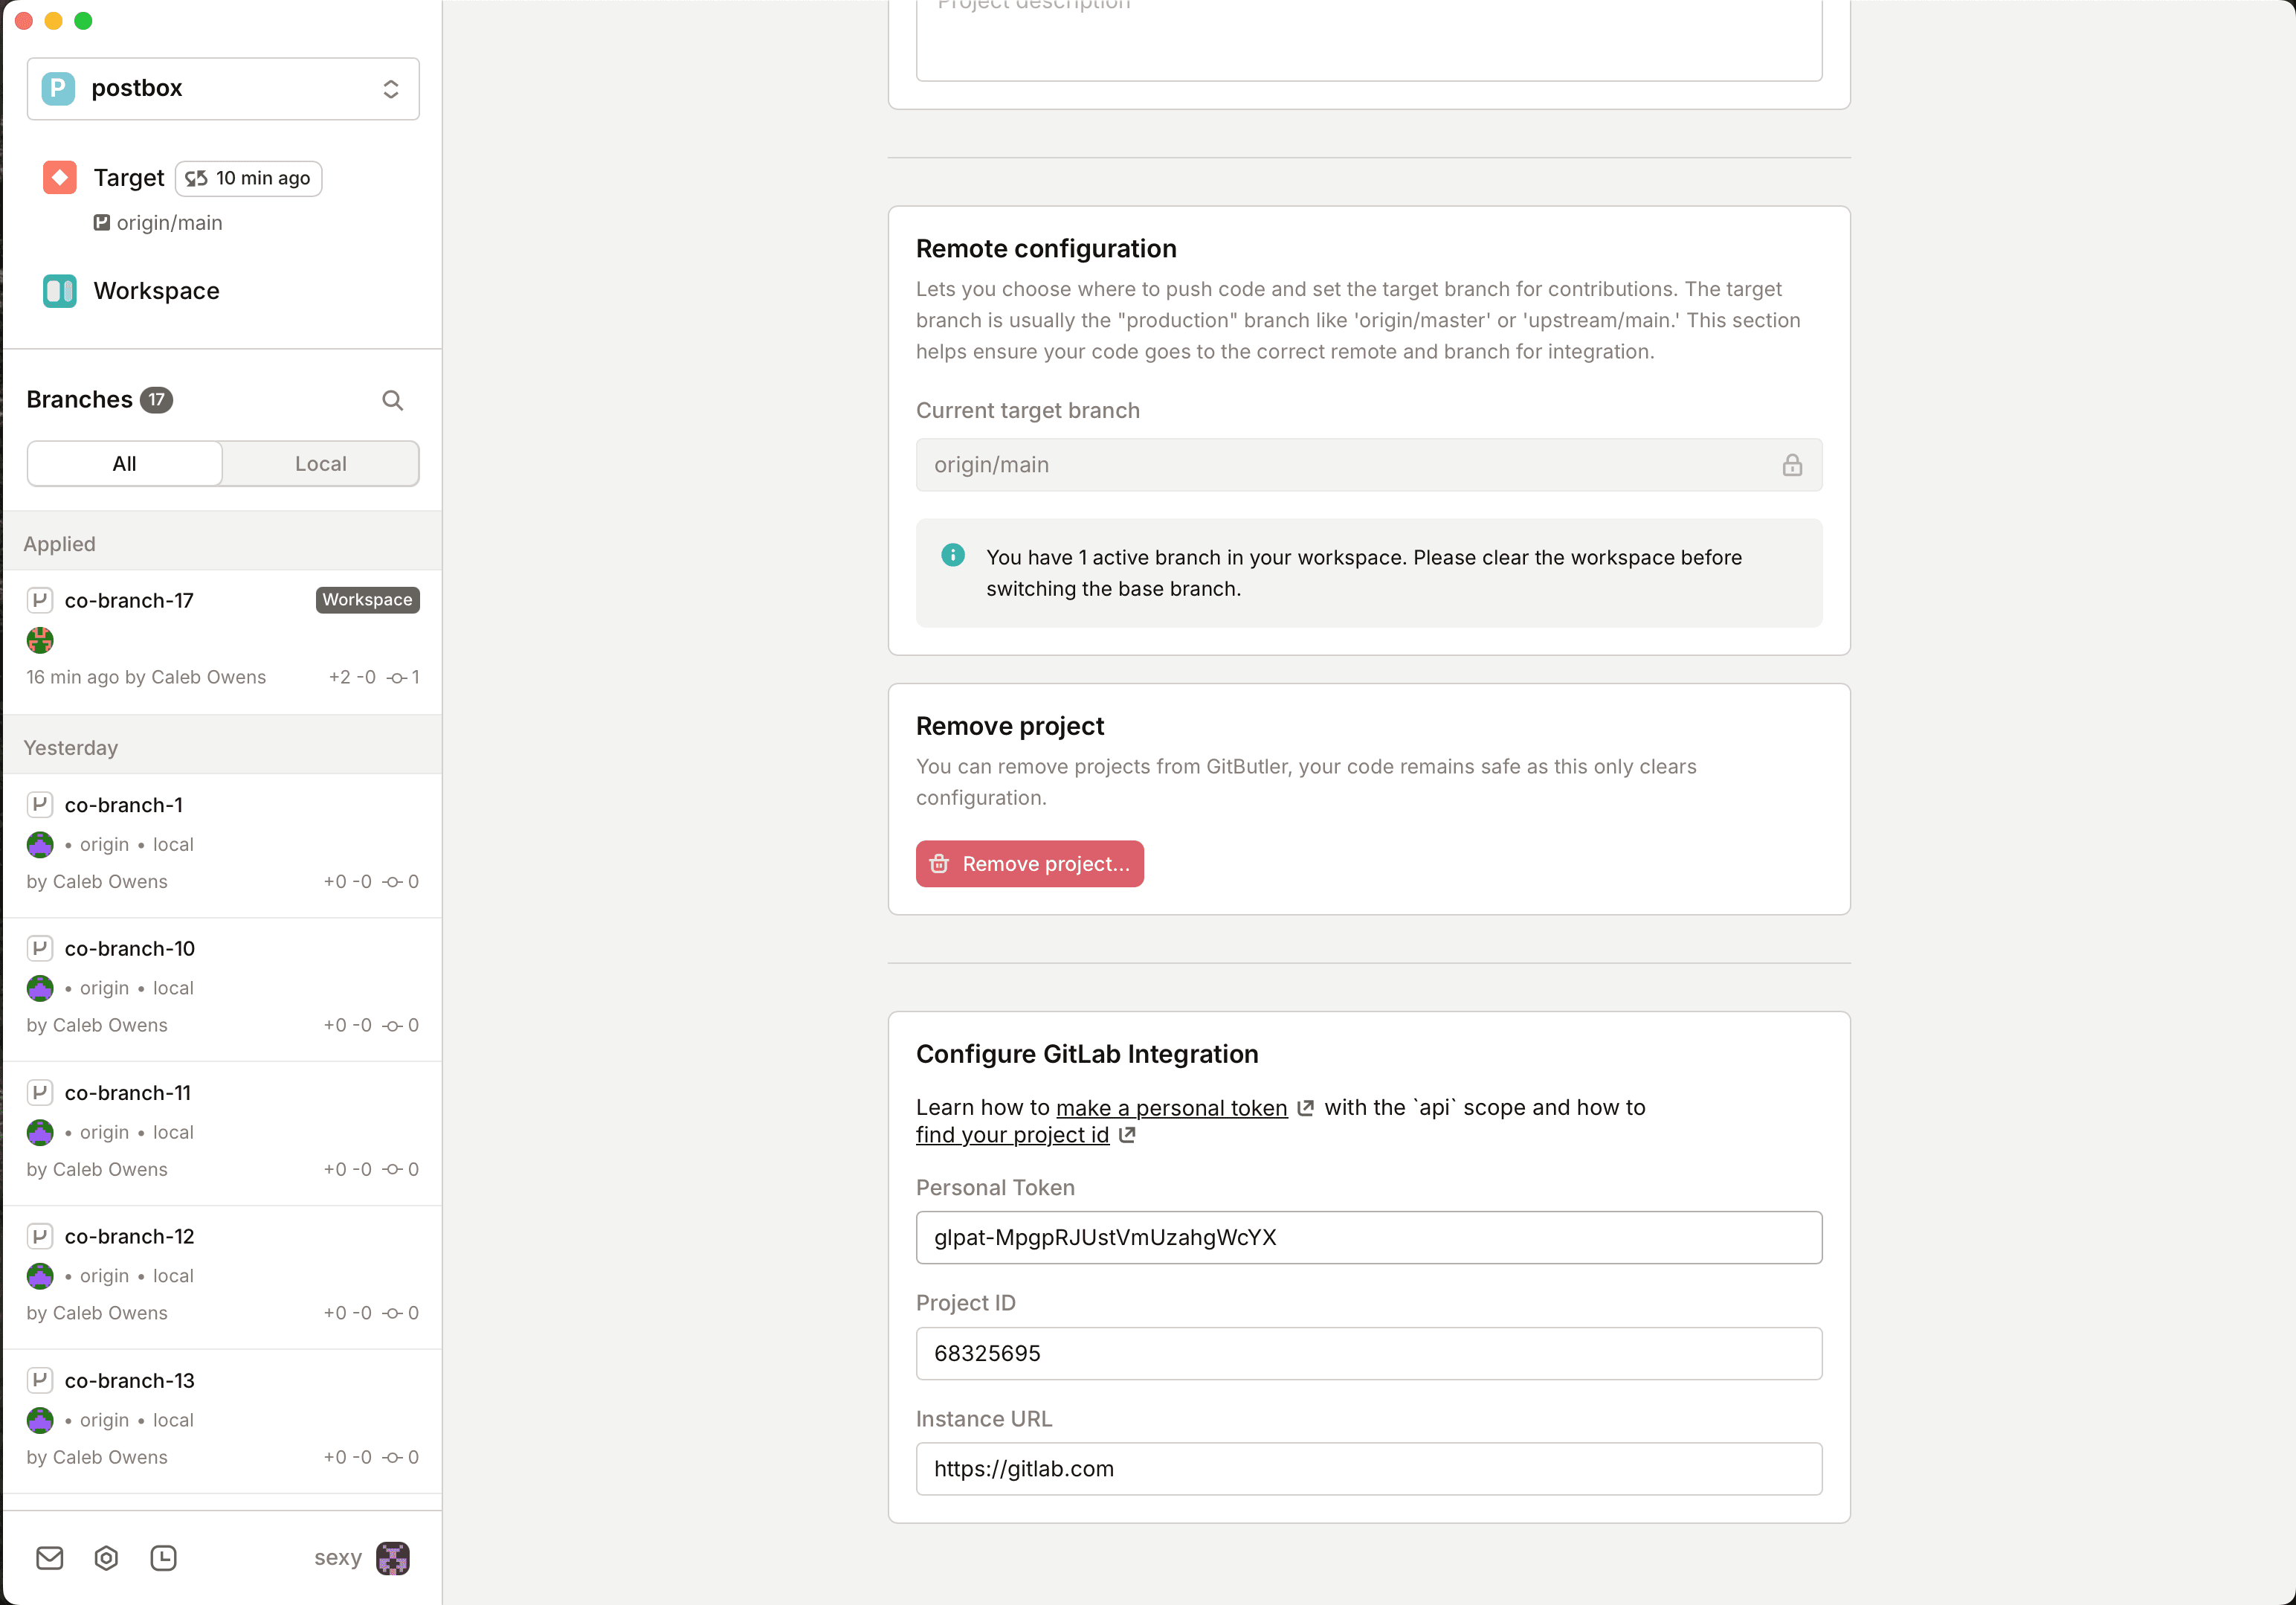
Inside GitButler, navigate to the project settings by clicking on the small cog icon in the bottom left. Scroll down to the bottom of the "Project" tab where you will see a form for entering your GitLab details. The provided GitLab Personal Token will be stored securly in your operating system's keychain.
Custom GitLab Instances
You may also provide a different Instance URL if you are using a self-hosted GitLab instance.
Note that if you use a custom GitLab instance, you will likely need to configure a custom CSP (Content Security Policy) to allow GitButler to connect to it. You can find more information on how to do that in the Custom Content Security Policy (CSP) section of the documentation.
Usage
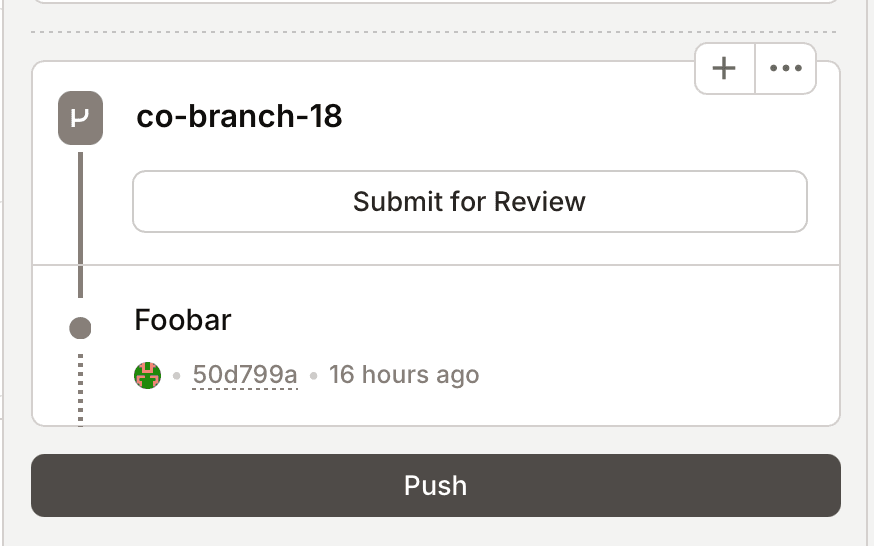
You will now have a "Submit for Review" button on each branch which you can use to create a Merge Request.
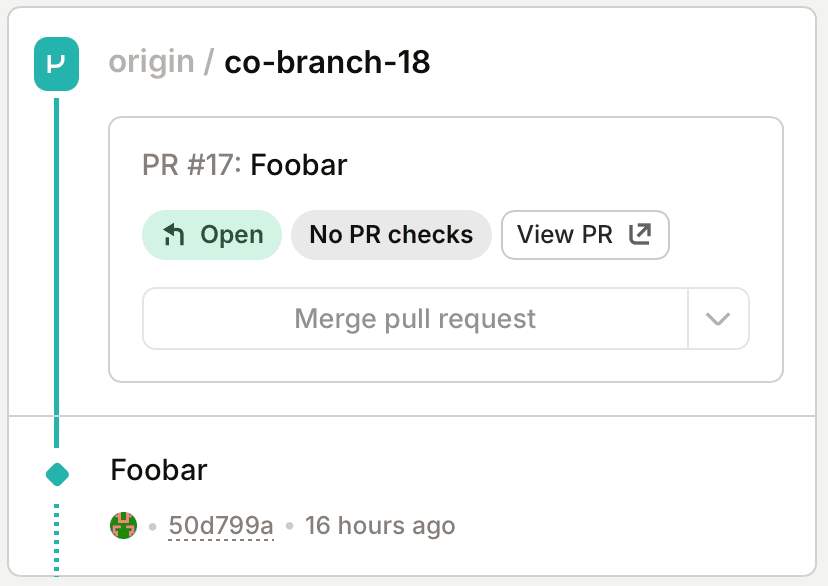
Once the Merge Request is created you will be able to see the status of it from within the client. Please note that we do not yet integrate with CI status.
Last updated on