
Commit Editing
GitButler gives you a lot of tooling for creating, modifying, squashing, splitting and undoing commits.
GitButler has lots of ways to craft the exact commits that you want to end up with. With other Git clients, you tend to have to run somewhat complicated git rebase -i type commands to change commit messages, split a commit up or absorb new changes into an existing commit. With GitButler, most of these are simply drag-and-drop operations.
Here are some of the cool things you can do very easily with GitButler.
Creating Commits
Once you have changes on a virtual branch and want to commit them, you can hit the "Start a Commit" button in any lane, which gives you an editor to write a summary and optional description for your commit message.
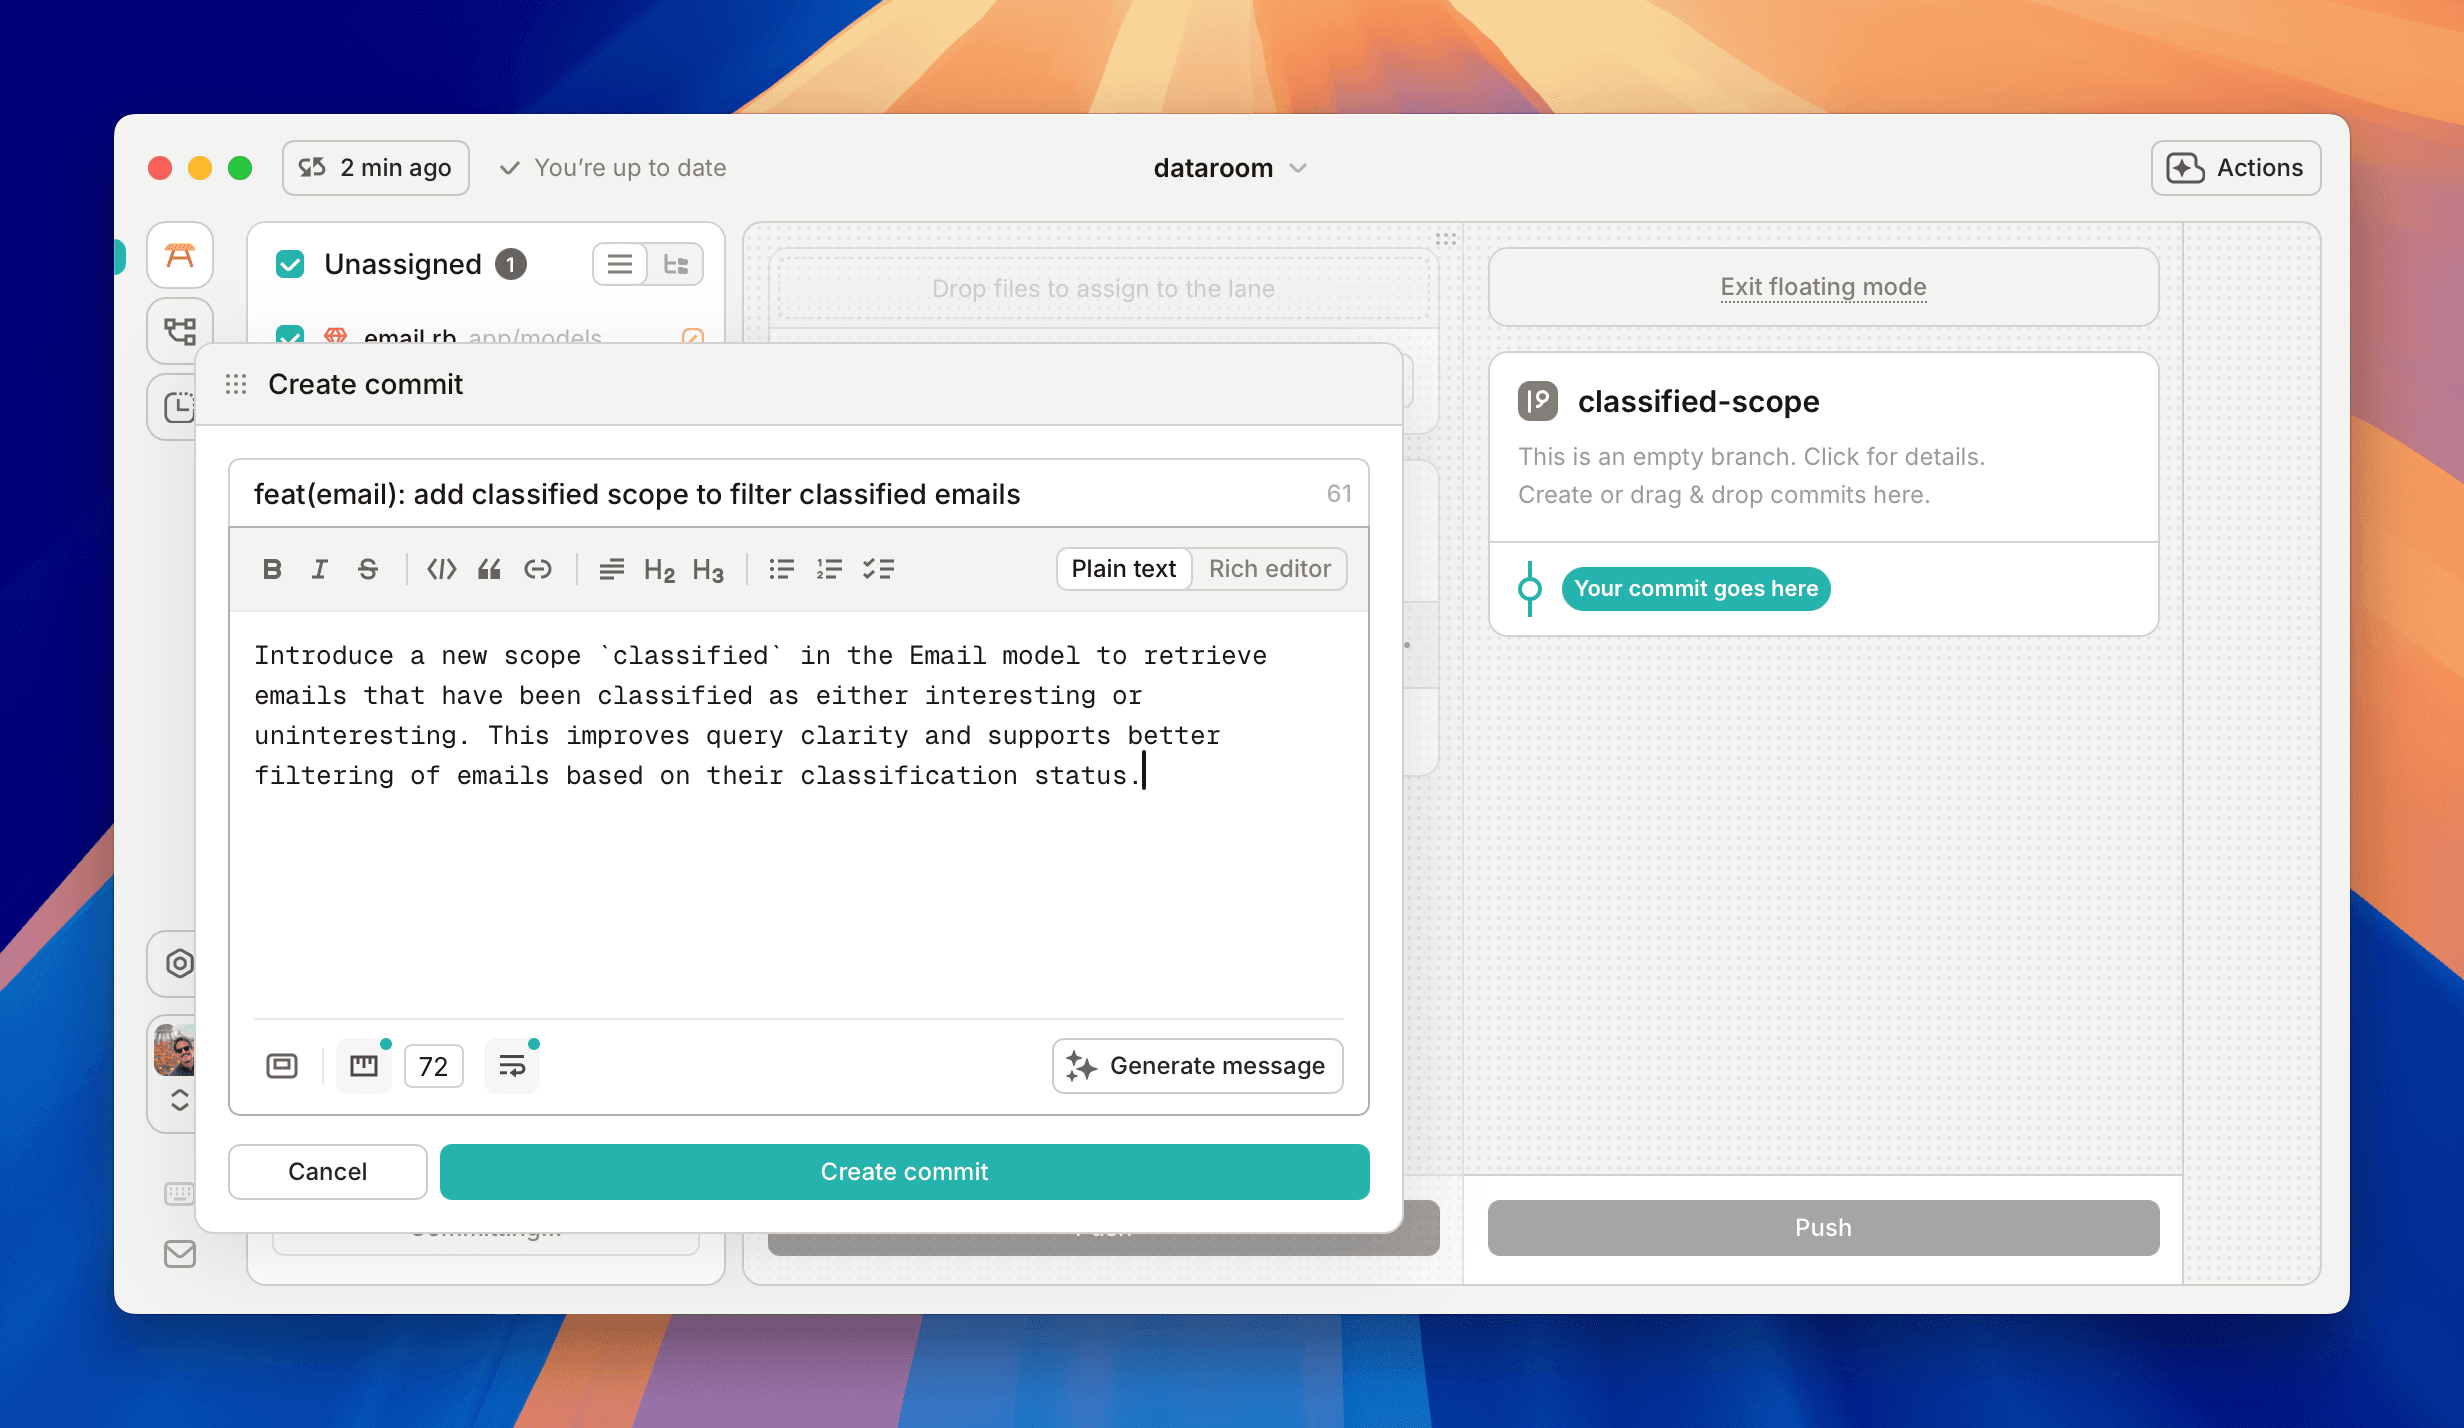
If you want AI to use your diff to generate a commit message, you can hit the "Generate message" button.
AI Commit Message Settings
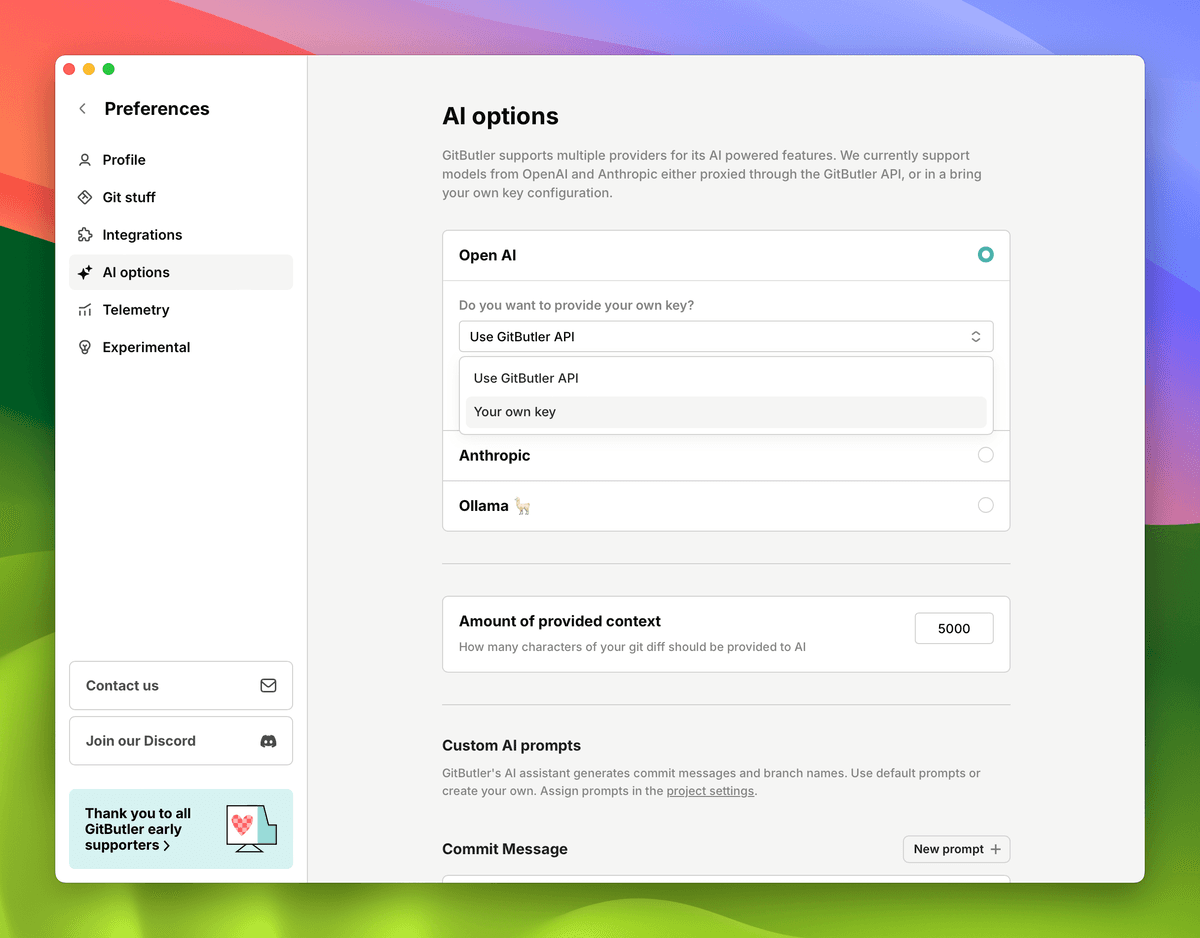
If you want to use AI for generating your commit messages or branch names from time to time, there are quite a few options in your user preferences. You can choose from OpenAI, Anthropic, Ollama or LM Studio as your engine.
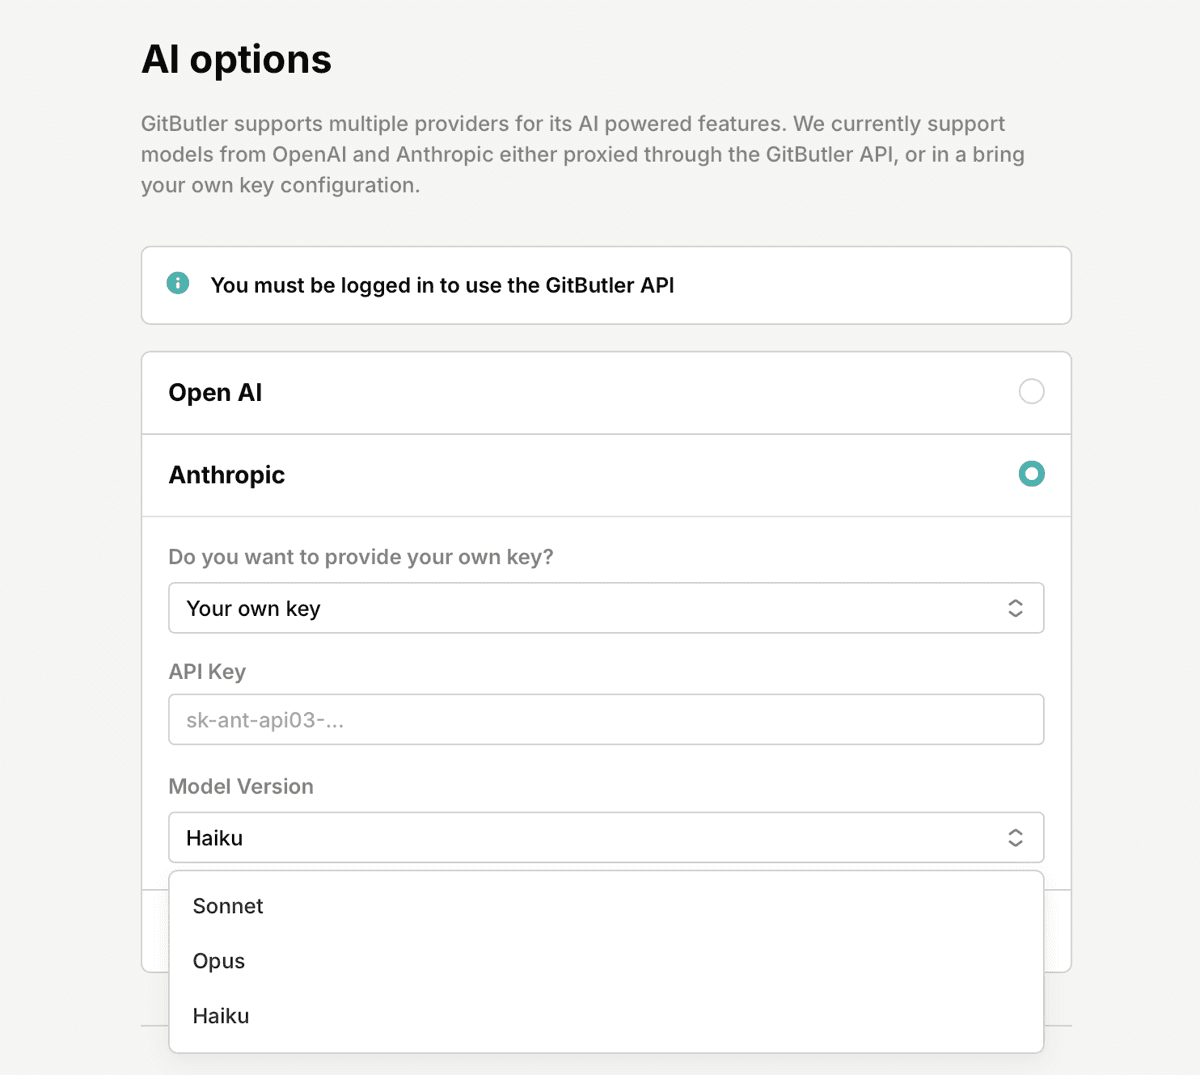
For both OpenAI and Anthropic, you can either use your own API key to directly send your request to their servers, or you can proxy via our server (which you need to be logged in for).
If you use your own key for OpenAI or Anthropic, you can choose which model you would like us to use.
If you don't want to send your diff to another server, you can also use Ollama or LM Studio, which are a local LLM servers.
With Ollama, you can run nearly any open source large language model (Llama 3, Phi 3, Mistral, Gemma, etc) entirely locally.
Note that if you choose to configure a self-hosted Ollama server, you will likely need to add a custom CSP (Content Security Policy) to allow GitButler to connect to it.
You can find more information on how to do that in the Custom Content Security Policy (CSP) section of the documentation.
With all of these models, you can also customize the prompt if you want something more specific. In the "Custom AI prompts" section, you can add new prompts and select which one you want to use per project. This is useful for following certain formats or generating messages in other languages, etc.
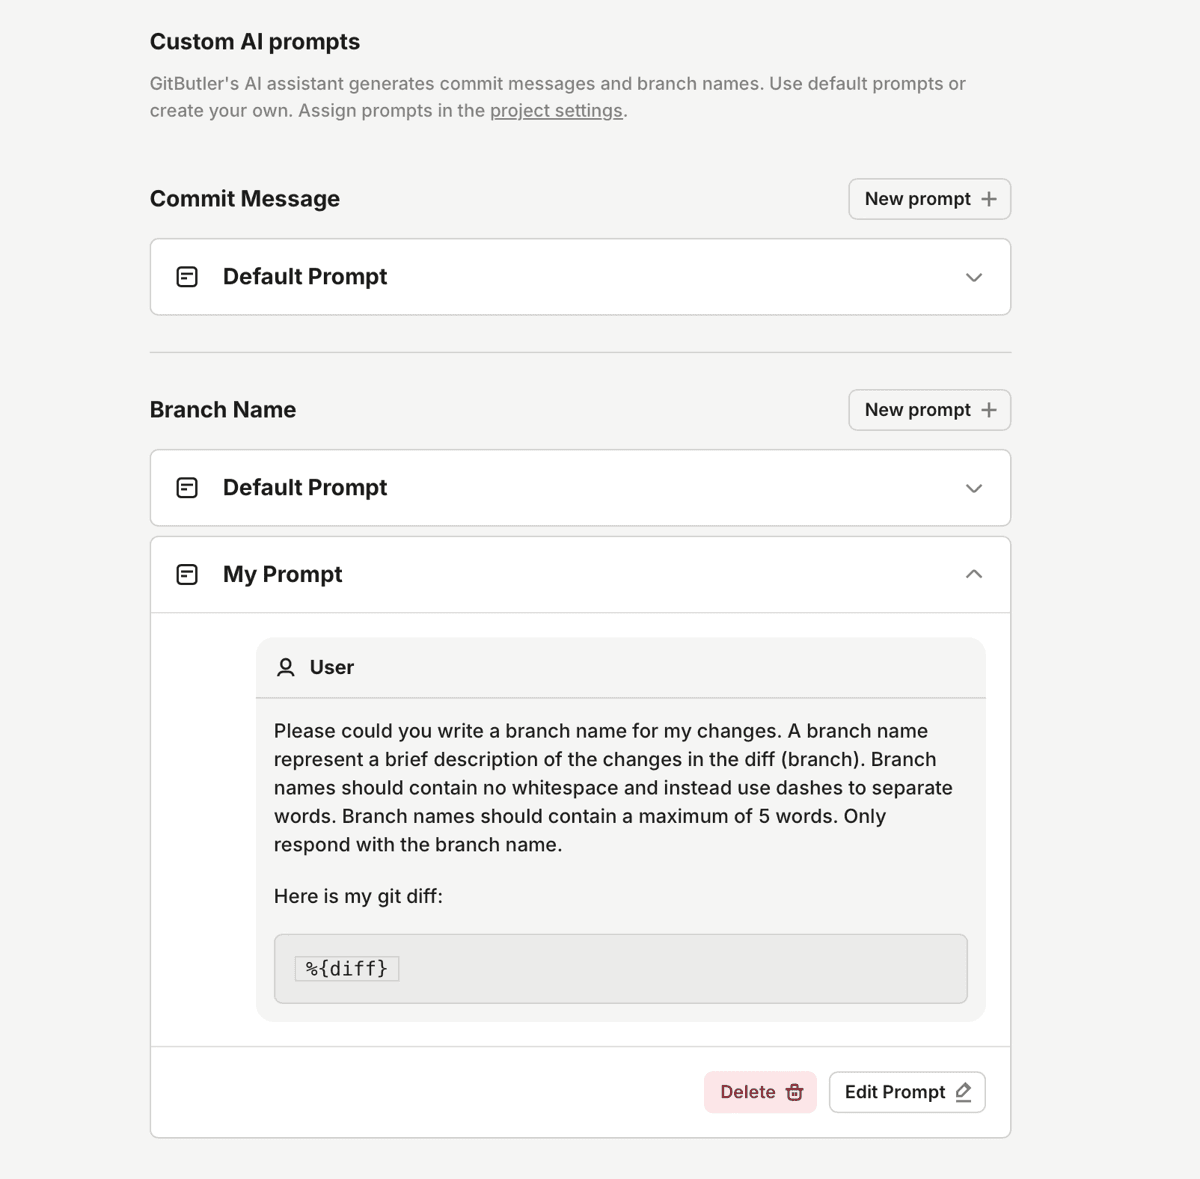
Custom prompts can contain three variables which we will replace with the appropriate values. Those include:
%{emoji_style}- Instructs the LLM whether or not to make use of GitMoji in the title prefix, based on your settings.%{brief_style}- Instructs the LLM to not exceed 1 sentence when generating the commit message.%{diff}- The contents of the diff.%{branch_name}- The name of the current branch. Available in "Commit Message" custom prompt only.
Absorbing New Work
If you have a commit and get some feedback on it or find an issue and wish to amend it, you can very easily absorb changes into existing commits. Simply drag the file into the commit you want to absorb that change into and drop it there.
This will both rewrite that commit to include the new changes and also rebase every commit upstream from it automatically.
Undoing Commits
You can easily undo any commit in your stack by expanding the commit and hitting the 'Undo' button. This will rebase all the commits above it and leave whatever work was in that commit as new uncommitted changes.
"Undo"ing a commit does not throw it away, it simply makes that work not in a commit anymore. It will not discard the changes.
Undoing One File in a Commit
If you want to undo a single file in a commit, you can expand the commit and click on the file you want to undo. Then hit "Uncommit". This will remove that file from the commit and leave it as uncommitted changes.
Squashing Commits
Squashing two commits into a single combined commit is also very simple. Just drag one commit on top of another one.
Splitting Commits
Splitting commits is slightly more complex. GitButler allows you to create an "empty" commit anywhere and then drag changes into it. Here is an example of creating an empty commit between two other commits, dragging changes from both of them into it and then absorbing new work into it as well.
You can also notice that I easily edit the commit message by just hitting the "edit message" button.
Moving Commits
You can also arbitrarily change the order of your commits by dragging and dropping them, which rebases everything to change the order.
Edit Mode
The other way that you can modify a commit is to go into "Edit Mode". When you click on a commit, there is a button that says "Edit patch". If you click this, GitButler will check out that commit by itself into your working directory (automatically stashing everything else temporarily).
The screen will go into "Edit mode", indicating that you're in a special state where you're focusing on this one commit.

Then you can change whatever you want and when you click "Save and exit", it will amend the commit you were editing and rebase anything on top of it.
This is useful for things like getting feedback on a series and being able to go into the appropriate commit, make the changes and continue, as opposed to squashing work.
Last updated on